Bryce Cargo Pants - Day 4 - pockets!
Share
Welcome back!
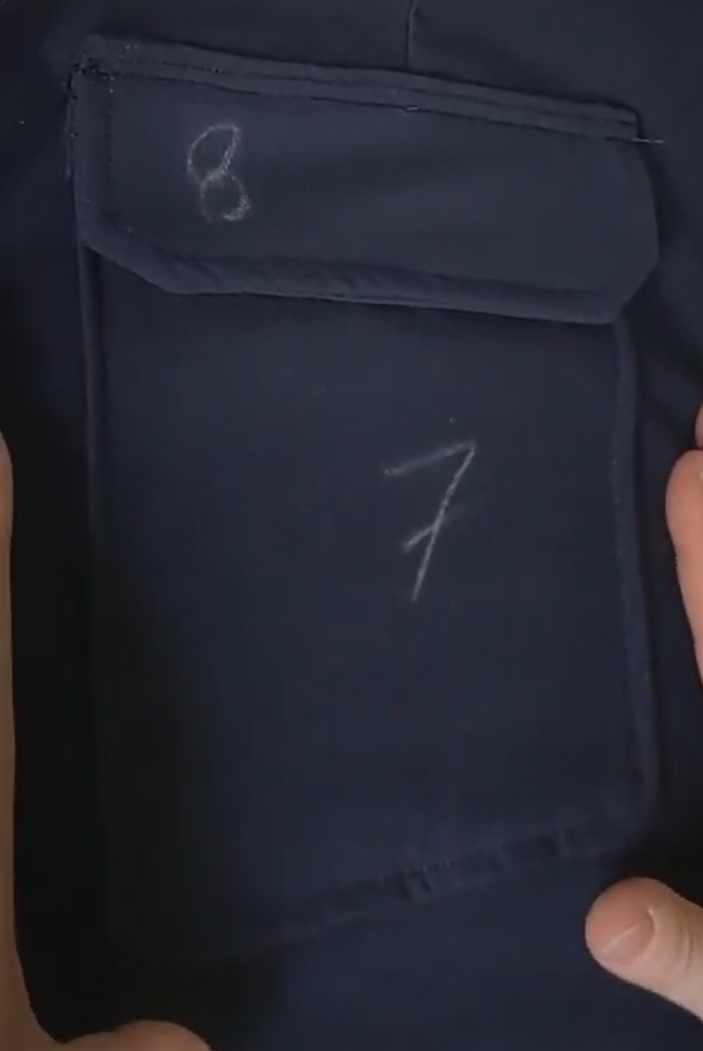
We now have pants with a fly and are going to attach back pockets, sew the outseams and attach and assemble cargo pockets!
Back pockets:
Before we do the cargo pockets we need to sew the outseam. Sew this right sides together with 1/2" seam allowance. Finish the seam with a serger or zig zag (together). Press the seam allowance toward the back pant and top stitch the entire length.
Cargo Pockets:
Apologies for the shaky camera at the start - if you need to skip that part we're pleating the pants which is step 45 in the instructions.
Inseam:
It is now time to sew the inseam together. Line up the notches on the pattern pieces - the back inseam gets stretched from crotch point to the knee notch and will be eased into the front.
Crotch Curve:
For top stitching the crotch curve - I kept having issues with videos so let me know if you need more explanation : bring your pants right side out and find where the top stitching ended right centre front of the fly. We're going to start there with a few back stitches and sew all around the crotch curve pressing seam allowances to the left pant leg (as worn). When you finish go back to the front fly piece and find our long tails from before and hand stitch them individually to the inside of the pants, where you can tie a good knot to keep them from unstitching!
We will finish the pants up tomorrow by installing the waistband and hemming!
Kea