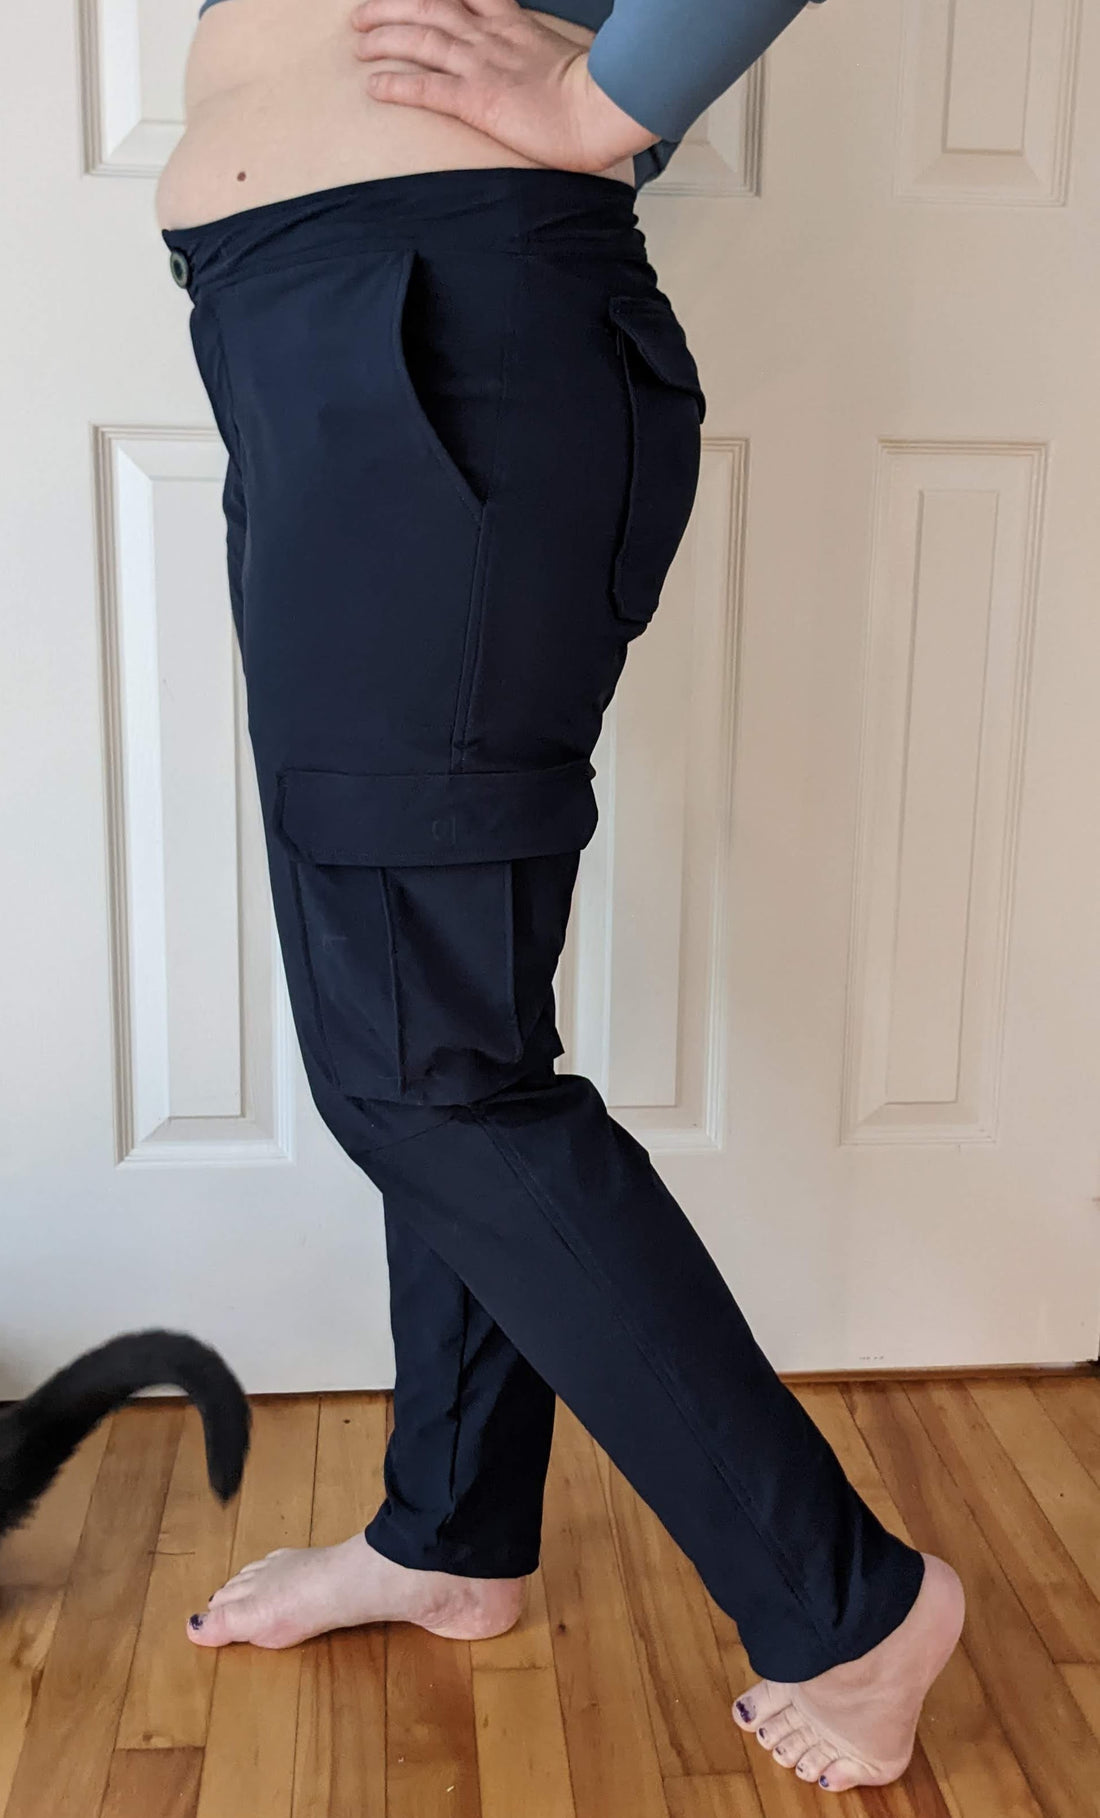
Bryce Cargo Pants - Day 5 - Waistband and finishing!
Welcome back to the last day of the Bryce sew a long.
In case you missed it, the link for the hack to make the apostrophe joggers into cargos is here:
Today we will be adding a waistband, a button and a hem. And hopefully we will be adding our butts into a pair of finished pants!
I will apologize for the quality of the videos for this one. It's a busy week for me and this section was on a short timeline. As always, let us know if you have any questions!
Waistband:
The next step is to bind the waistband facing, and then attach the facing to the waistband.
After we top stitch the waistband it's time to add a button and button hole! I use my sewing machine for this, and the only tips I have are these:
1.test your button hole on the same number of layers of the same fabric before doing it on your pants.
2. if machine sewing your button, hand crank the first two so you know it's the right distance for your button (and so you don't shatter your button and needle - ask me how I know).
The hem allowance on these pants is 1 1/4" - you can fold it up the full 1 1/4" and then flip it back down by 1/4" and stitch along that to hide the seam OR you can serge the bottom edge, flip it up by 1 1/4" and top stitch/hem that way.
Belt loops:
Please let me know if you want an extra video on how to make and install belt loops as I have skipped them for this pattern - I don't own a belt and The waistband fits nicely =)
Finished!

Kea.