Bryce Cargo Pants - Day 1 - Fitting
Hey everyone - Kea here!
Today is all about sizing and fitting, and we will start cutting our pattern. I want to also mention that we are sorry that we didn't use patterns that are more size inclusive. Brit is testing the pattern adventure pants for future as a size inclusive option, and we will be adding a post as "hack the Apostrophe MyFit joggers into hiking pants" (Which will be linked right here once we finish it!)
So let's get started - these pants are on the fitted side, they were quite flattering but in my measured size I found them somewhat restrictive - so for this we're going to start with one size up from our measured hip size. I'm going to use my measured low waist.


My measurements are 33" waist and 43" hip, for the fit test it suggests going up one size. I already know the waist band fit me super great in my measured size so I'm going to grade from a 16 at the waist to an 18 everywhere else. You can see the ease for the hip is 0 - I think for moving I would like a bit more movement.
Now we can get started on cutting. Adjustments I'm making before the fit test : 1" increase in length, 1" decrease front rise.
Here's a video of me cutting the main body of the pants - you can skip this if you like. You can also watch it on YouTube at 2* speed and listen to me talk like a chipmunk while I attempt to cut fast for y'all.
Here are the main points to note. 1. If you normally need to add length (the inseam is 27.5") do that here.2. If you normally need to increase the rise, do that here and you can always reduce it later. 3. check the inseam to knee dart measurement and compare to your pattern piece and adjust by adding height above the knee or moving the dart.
These are the pieces you need for your test fit:

I'm going to baste everything together. I found that I was able to pull the pants on even after basting the fly opening closed, but you can choose to leave it open and just sew the bottom part of the curve.I attached the pockets for the test fit by sewing across the opening as per the following image. You can use the facing here instead if you prefer.
It will also help fit and sewing the inseam/outseam to baste the darts in now for the knees and the waist. The video below reviews how I sew a dart (When basting do not tie off the ends.)
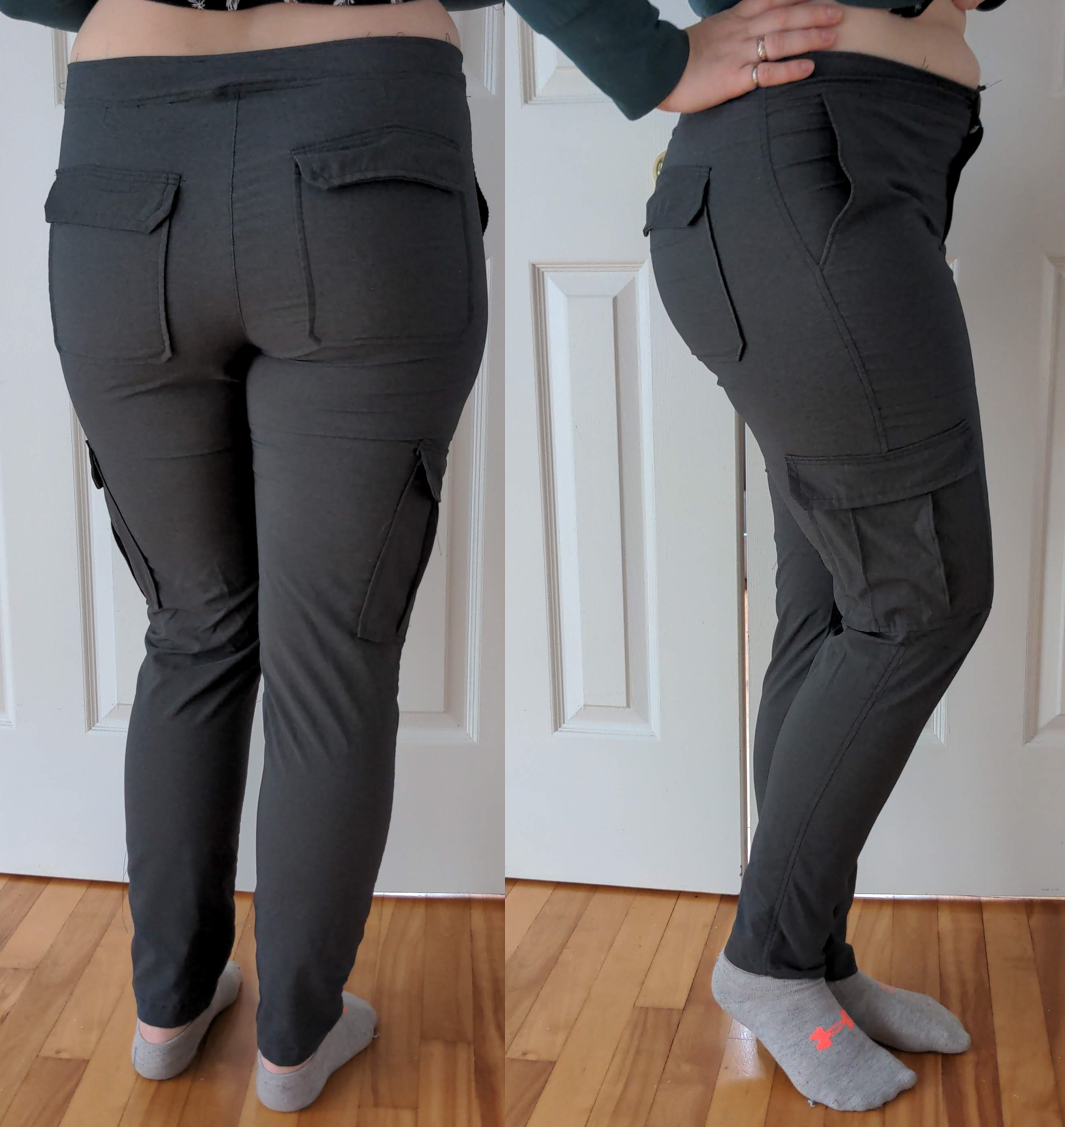
Here's my test fit, Note - seam allowance for these pants is 1/2".
Please post your fit pair in the event here if you want some fit help specific to your pants! You can also message the Halo Fabrics page on facebook or send us an email if you want to contact us more privately!
If you have adjusted height above the thigh, you may need to adjust the cargo placement. If you've shortened them, check placement and see if you need to shorten either the front pockets, the cargo pockets, or both!
If you want to listen to me talk instead of reading the last few paragraphs, click the video below :)
Thanks for following along today! For day 2 we will answer any more fit questions, cover cutting the rest of the pockets out, cutting out the bias binding& sewing our own bias binding and we will start on the front pocket construction.
Day 3 will cover the fly construction, and Days 4 and 5 will cover the construction of the pants and all the pockets